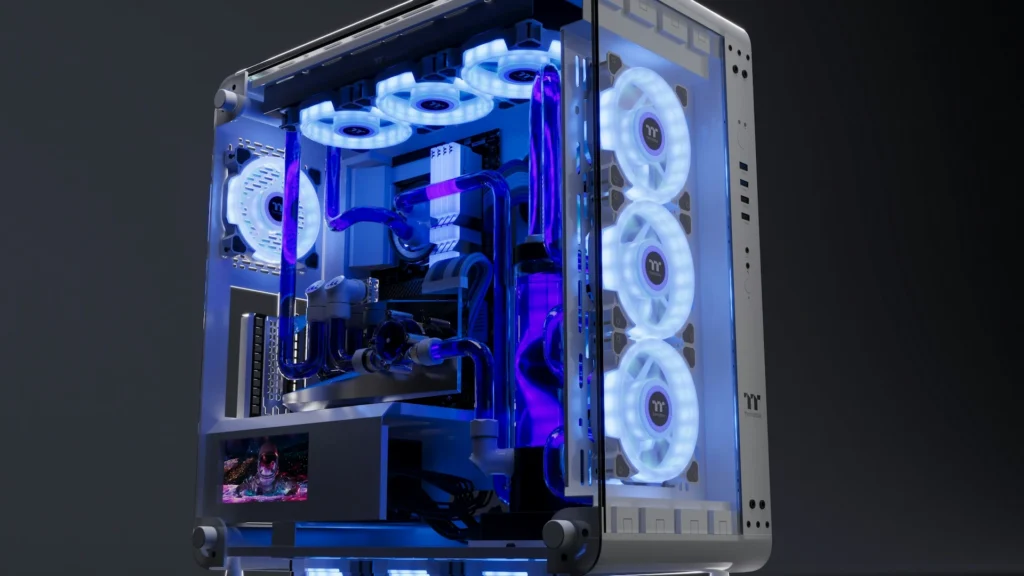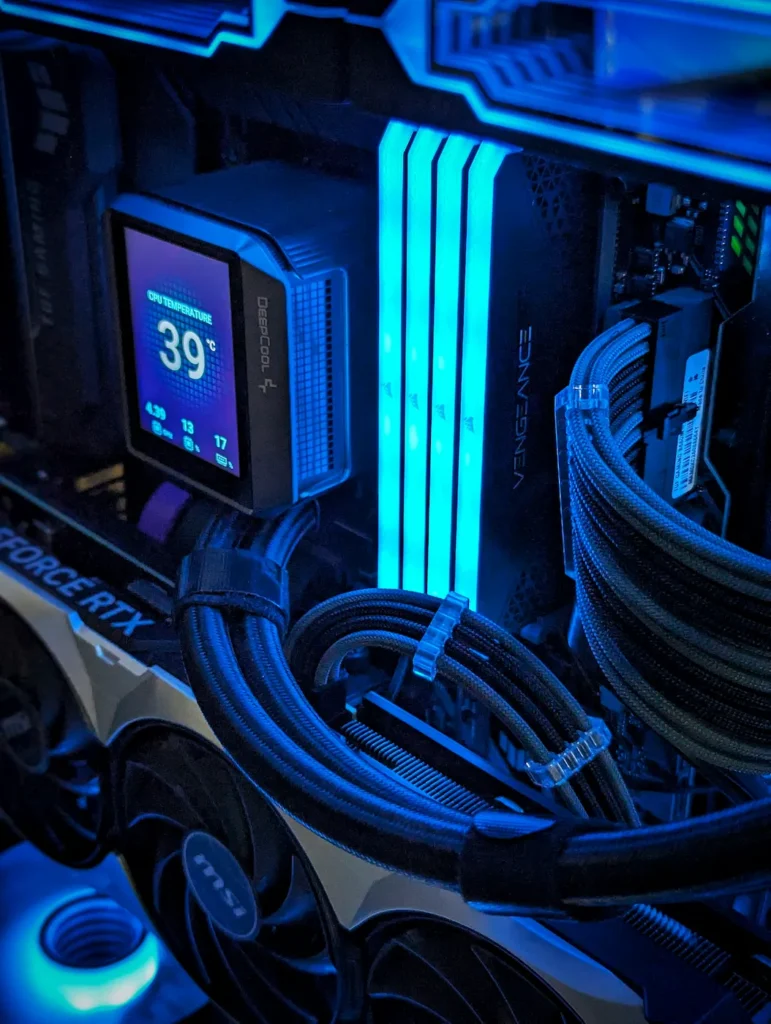
To build a gaming PC you need eight parts, a Phillips screwdriver and a free afternoon. Choose parts that fit each other, assemble them in the right order, and test the machine before you close the case.
We handle computer repair at Computer Cave in Richmond, Fredericksburg and Charlottesville, home builds included. When a new build will not start, the cause is usually something small. This is the parts list, the build order and the checks that catch those slips early.
Before you buy a single part
- Set the budget, then choose the graphics card first. It decides how your games look and run.
- Match the processor to the motherboard socket, and the memory type to the board.
- Buy a rated power supply from a known brand, with headroom over what the parts draw.
- Check that the graphics card and the cooler physically fit the case.
- Plan to power the build on and test it before you tidy cables and close the panels.
What parts do you need to build a gaming PC?
Every gaming desktop is made of the same eight parts. The models change every year, but the list does not.
- Processor (CPU): runs the game logic and everything in the background. A current six or eight core chip is plenty for gaming.
- Motherboard: connects everything. Its socket has to match the processor, and its size has to match the case.
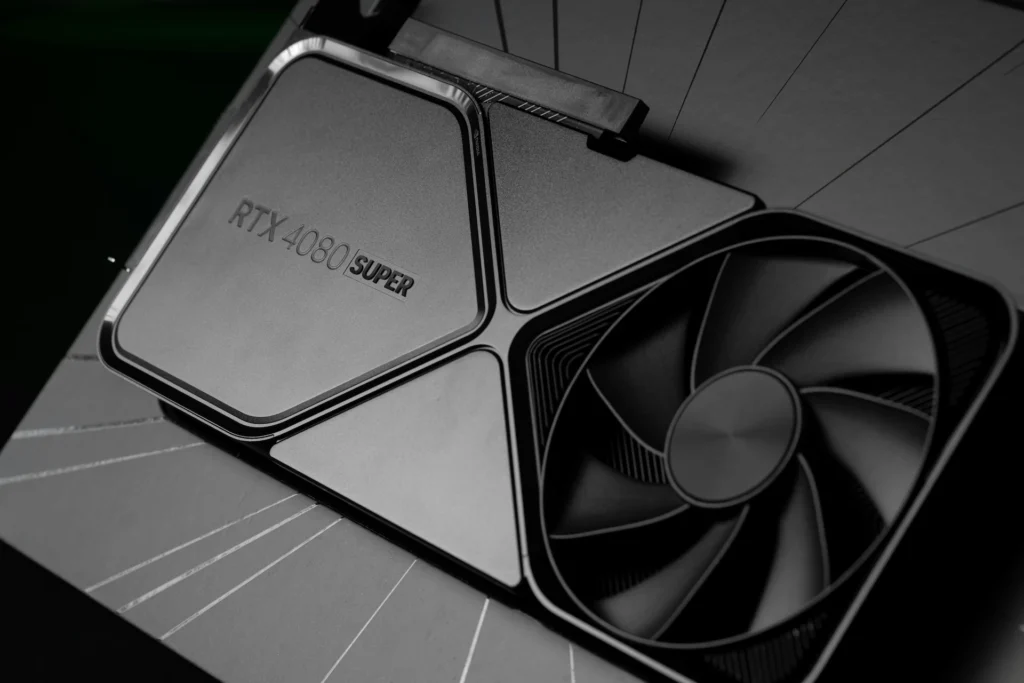
- Graphics card (GPU): the part that matters most for frame rate, and usually the largest share of a gaming budget.
- Memory (RAM): 16GB is the floor for gaming and 32GB leaves room to grow. Buy a matched pair of sticks.
- Storage: an NVMe solid state drive for Windows and your games. 1TB fills quickly at modern game sizes.
- Power supply (PSU): feeds every other part. Size it for the graphics card.
- Case: has to fit the motherboard, the length of the graphics card and the height of the cooler, and move air through.
- CPU cooler: some processors include one. Hotter chips need a tower air cooler or a liquid cooler.
You also need an operating system, plus a monitor, keyboard and mouse if you do not own them. Windows 11 requires TPM 2.0 and Secure Boot, which current motherboards support.
How do you choose parts that work together?
Compatibility is where first builds go wrong, and you can check it before you spend anything. A processor fits one socket family only. An AMD chip will not go into an Intel board, and a new chip may not fit an older board from the same brand.
Memory works the same way. Current platforms use DDR5, and a DDR4 stick will not physically fit a DDR5 slot. The motherboard maker also publishes a list of memory kits tested on each board.
Then check the sizes. Graphics cards have grown, so compare the length of the card with the clearance the case lists, and the height of the cooler with the width of the case. A free planner such as PCPartPicker flags most of these conflicts while you build the list.
Where should the budget go?
For gaming, pick the graphics card first and build around it. A balanced build pairs it with a midrange processor. A top graphics card held back by a weak processor wastes money, and so does the reverse.
Do not save money on the power supply. It is the one part that can damage the others when it fails. Choose a unit with an 80 PLUS efficiency rating and leave 20 to 30 percent of headroom over what the parts draw.
If a finished build feels slow a year or two on, the fix is usually one new part and not a new machine. We cover that choice in Computer Running Slow? Repair vs Upgrade.
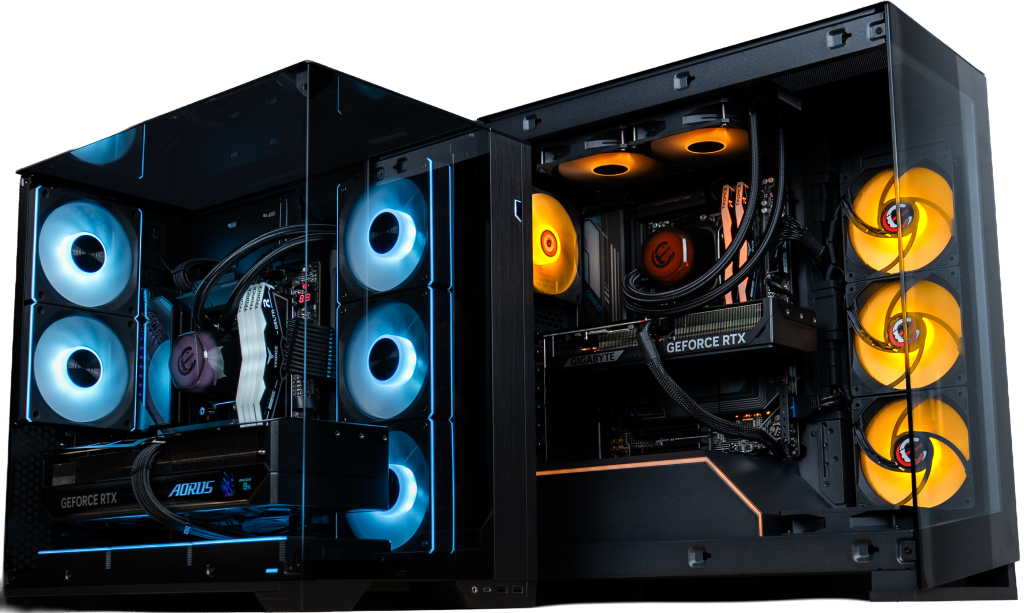
Two finished builds side by side. Planning where the cables run is what keeps the inside this tidy.
How to build a gaming PC, step by step
Work on a table with good light, and keep the machine off carpet. Hold on to the motherboard box, because it makes a safe stand for the first four steps.
Before you touch a part
Static can kill a component without leaving a mark. Touch the bare metal of the case before you handle parts, hold boards by their edges, and never plug in or unplug anything inside the PC while the power supply is switched on.
The order that saves rework
- Lower the processor into the socket with the triangle on the chip lined up with the triangle on the socket. It needs no force.
- Click the memory into the two slots the manual names for a pair, usually the second and fourth from the processor.
- Fit the M.2 drive to the board and screw it down.
- Mount the cooler, with thermal paste if none is applied already, and plug its fan into the CPU fan header.
- Fit the power supply and the standoffs in the case, then screw the motherboard down onto the standoffs.
- Seat the graphics card in the top long slot until the latch clicks, and screw it to the case.
- Connect power: the wide 24 pin board cable, the CPU cable at the top of the board and the graphics card cables, each pushed fully home.
- Connect the front panel leads, fans and USB headers, then tie the cables clear of the fans.
What should you check at first boot?
Plug the monitor into the graphics card and not the motherboard, switch the power supply on and press the power button. If the fans spin and the maker logo appears, open the BIOS and confirm that it sees the processor, all of the memory and the drive.
Turn on the memory profile, labelled XMP or EXPO, so the RAM runs at its rated speed. Install Windows from a USB stick, then load the graphics driver from the card maker. For a second walkthrough with photos of each step, Tom’s Hardware has a full build guide.
Watch the temperatures through the first hour of gaming. If the processor runs hot while the PC is idle, the cooler is usually not sitting flat, or its protective film is still on.
Mistakes that stop a first build from starting
- The monitor cable is in the motherboard port, so the screen stays black. See Graphics Card Not Detected for the full list of checks.
- The memory is in the wrong pair of slots, or not clicked in at both ends.
- The protective film is still on the base of the cooler.
- Standoffs are missing, which lets the board short against the case.
- The CPU power cable was forgotten, or a graphics card cable is only half seated.
- The front panel power lead is on the wrong pins, so the button does nothing.
- The power supply is undersized or unbranded, which shows up later as crashes under load.
None of these means a dead part. If the machine still will not start once you have checked them, stop swapping parts and have it tested. Heat problems that appear weeks later are a separate job, covered in Gaming PC Overheating in Fredericksburg: Causes and Fixes.
Built it and it will not start?
Bring the whole PC to Computer Cave and we will find the part that is stopping it before you buy another one.
Walk in at our Richmond, Fredericksburg or Charlottesville store, or start the repair online.
Questions people ask
Is it cheaper to build a gaming PC than to buy one?
Not always. Building lets you choose every part and skip the assembly charge, but prebuilt makers buy parts in bulk and sometimes sell a whole system for less than its parts cost. Price both before you decide.
How long does it take to build a gaming PC?
Plan on three to four hours for a first build, plus time to install Windows, drivers and games. Experienced builders finish the hardware in about an hour.
Is building a gaming PC hard for a beginner?
It is closer to careful assembly than to engineering. Parts only fit one way and nothing needs soldering. The usual problems are a missed cable or a part that is not fully seated.
What tools do I need to build a PC?
A magnetic Phillips #2 screwdriver does almost all of it. Cable ties help with tidying, and a small dish stops screws going missing.
What if my new build will not turn on?
Check the switch on the power supply, the 24 pin and CPU power cables, the memory seating and the front panel power lead. If it is still dead, bring it in. Computer Cave repairs carry a 1-year limited warranty.
Keep reading